Up 「sshを有効にする」を設定 作成: 2021-02-01
更新: 2021-02-04


    GUI で起動の場合,初期設定ダイアログに sshd のことが出て来ない。
    よって,ここで「sshを有効にする」を設定する。

    設定の手順:
      Raspberry Pi メニュー
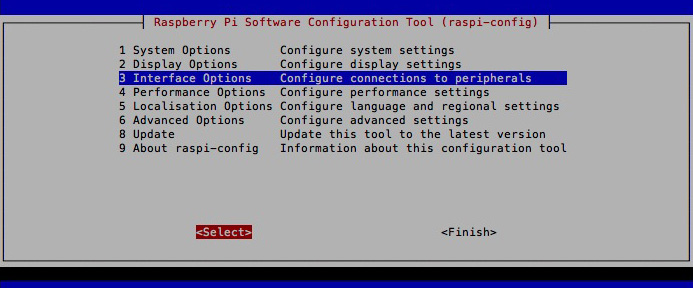
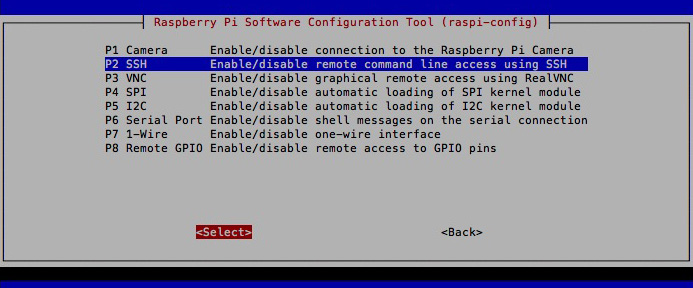
      → Preferences
      → Raspberry Pi Configuration
      → Interfaces
      → SSH : Enable


    あるいは,Terminal から raspi-config を実行して,「sshを有効にする」を設定する:
    $ sudo raspi-config


    プロセスを確認:
    $ ps -ef | grep ssh pi 682 648 0 15:55 ? 00:00:00 /usr/bin/ssh-agent x-session-manager pi 725 1 0 15:55 ? 00:00:00 /usr/bin/ssh-agent -s root 1891 1 0 16:34 ? 00:00:00 /usr/sbin/sshd -D

    パーミッションがどんな設定になっているかをチェック:
    $ cat /etc/ssh/sshd_config | grep Permit
      #PermitRootLogin prohibit-password #PermitEmptyPasswords no # the setting of "PermitRootLogin without-password". #PermitTTY yes #PermitUserEnvironment no #PermitTunnel no # PermitTTY no
    この度は,ユーザ「pi」でしか ssh をしないので,このままでよし。


    備考
  • 関連ファイル
    • /etc/ssh/sshd_config (設定ファイル)
    • /usr/sbin/sshd (sshd 本体プログラム)

     注意:/etc/ssh/ssh_config は,クライアント用設定ファイル